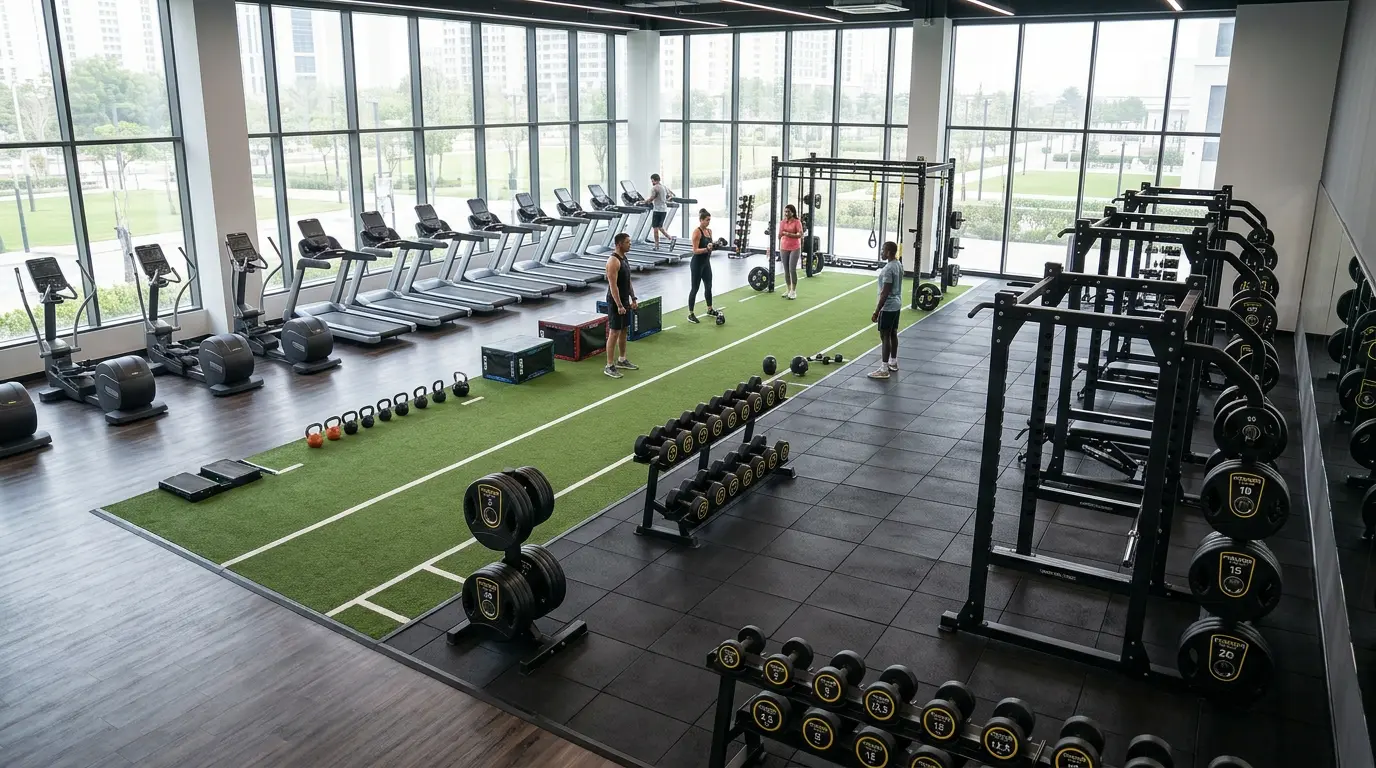
Why Layout Planning Matters
The layout of a commercial gym directly impacts member satisfaction, safety, operational efficiency, and revenue per square metre. A poorly planned space creates bottlenecks during peak hours, underutilises expensive equipment, and frustrates members. Conversely, a well-designed layout maximises capacity, encourages equipment rotation, and creates a training environment that members want to return to.
Step 1: Define Your Training Zones
Before placing a single piece of equipment, divide your available space into distinct training zones. The most common zones in a modern commercial gym include a free-weight area, a functional training zone, a cardio section, a stretching and mobility area, and potentially a group exercise space. Each zone has different flooring, equipment density, and ceiling height requirements.
The free-weight zone is typically the highest-revenue area per square metre. It should be centrally located and generously sized. Allocate space for dumbbell racks with adequate clearance — a minimum of two metres in front of each rack allows members to perform exercises without encroaching on walkways or neighbouring stations.
Step 2: Plan Traffic Flow
Members should be able to move between zones without crossing active training areas. Main aisles should be at least 1.5 metres wide to allow two people to pass comfortably, even when one is carrying equipment. Emergency exits must remain unobstructed at all times — this is a legal requirement in most jurisdictions.
Place high-traffic equipment like dumbbell racks and plate storage near the centre of the weight area, not against walls. Wall placement forces all traffic into narrow corridors. Central placement distributes traffic evenly and gives members 360-degree access.
Step 3: Free-Weight Area Design
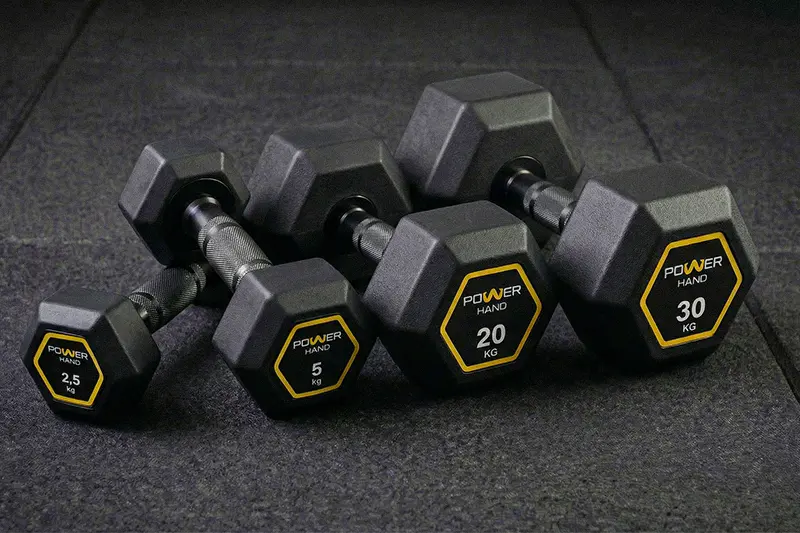
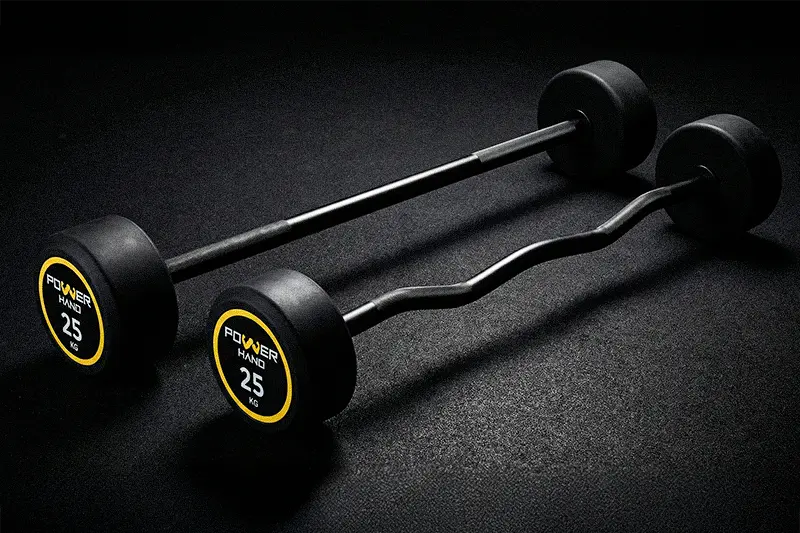
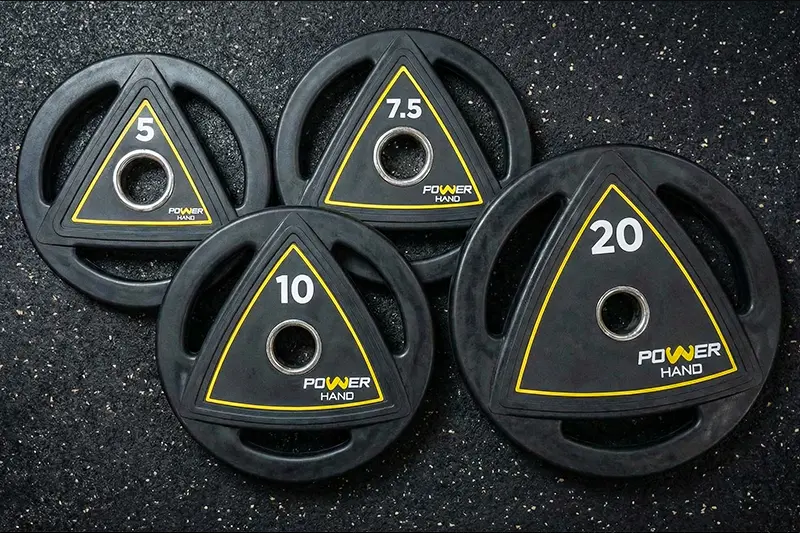
The free-weight area deserves special attention because it accommodates the widest variety of exercises and the most dynamic movements. Include a complete range of hex dumbbells on sturdy racks, Olympic lifting platforms with bumper plates, flat and adjustable benches, and squat racks or power cages.
Olympic lifting platforms require a minimum footprint of 2.4 metres by 3 metres, with additional clearance of at least one metre on each side for safety. Bumper plate storage should be adjacent to platforms for convenient loading and unloading. A well-organised plate tree within arm's reach of each platform reduces clutter and speeds transitions between sets.
Step 4: Functional Training Zone
Functional training zones need open floor space above all else. Avoid cluttering these areas with fixed equipment. The primary investments are flooring — high-density rubber that can absorb dropped barbells and dumbbells — and versatile equipment like bumper plates, Olympic bars, kettlebells, and plyo boxes.
Ceiling height is critical in functional zones. Overhead presses, pull-ups, and rope climbs require a minimum clearance of 3.5 metres. If your building has lower ceilings, designate specific areas for overhead movements and mark them clearly.
Step 5: Equipment Spacing Standards
Minimum spacing between benches is 1.2 metres to allow safe movement. Squat racks require 1.5 metres of clearance in front for bar path and behind for safety steps. Dumbbell exercise stations need 2 metres of depth in front of the rack to accommodate lunges, rows, and presses.
These are minimums. Premium facilities increase spacing by 20–30 % to create a more comfortable, less crowded atmosphere. The additional space investment pays dividends in member satisfaction and retention.
Step 6: Storage and Organisation
Equipment that is not in use should have a designated storage location that is visible and accessible. Dumbbell racks keep the free-weight area organised and prevent tripping hazards. Plate trees and bar holders near lifting stations encourage members to re-rack weights — a constant challenge in every gym, but one that good design can mitigate.
When selecting dumbbell racks, choose models that display weights clearly with angled shelves that allow quick identification. The rack should accommodate your full dumbbell range with space for growth. A rack designed for pairs from 2.5 kg to 50 kg is a sensible starting point for most commercial gyms.
Step 7: Lighting, Mirrors, and Atmosphere
Lighting affects both safety and atmosphere. The free-weight area needs bright, even illumination — at least 300 lux at floor level — so members can read weight markings and see their form clearly. Mirrors along at least one wall of the weight area allow form checking without requiring a training partner. LED lighting in the functional zone can be slightly dimmer for a more energetic atmosphere during group sessions.
Step 8: Plan for Growth
Design your layout with expansion in mind. Leave at least 10 % of your floor space uncommitted — this allows you to add equipment as membership grows without a complete redesign. Working with a manufacturer that offers partial pallet shipping and no minimum order quantity means you can add pairs of dumbbells or sets of plates incrementally as demand dictates.
Conclusion
A well-planned gym layout is a competitive advantage that pays for itself through higher member density, better equipment utilisation, and superior member experience. Take the time to plan your zones, traffic flow, and equipment spacing before ordering a single piece of equipment. When you are ready to fill your space, Anka Force Sport offers the full range of commercial-grade free-weight equipment — dumbbells, barbells, bumper plates, Olympic plates, and racks — to bring your layout to life.